You can edit your existing scheduling pages if you need to change your availability or make other changes to the scheduling experience.
Edit scheduling pages
- In your HubSpot account, navigate to Sales > Meetings.
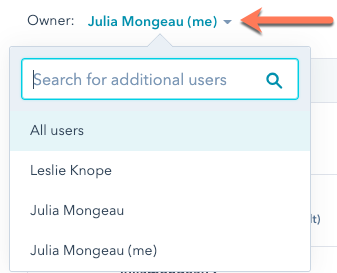
- If you're a super admin editing a scheduling page for another user, click the Owner dropdown menu and select another user.

- Hover over a meeting name and click Edit.
- In the left sidebar menu, navigate the tabs to make changes to your scheduling page:
- Overview: edit the scheduling page's basic information, including the title, location, and meeting description.
- Scheduling: edit your availability and form questions.
- Automation: edit the reminder emails and experience after a meeting is booked.
Please note: you cannot change the meeting Organizer after the scheduling page is created. If you want to assign a scheduling page to a new owner, you need to transfer ownership.
- Click Save.
Transfer ownership of a scheduling page
There may be instances when a team member is out office, moves to a different team, or leaves the company. If you're a user with Super admin permissions, you can transfer their scheduling page to another owner so contacts can still book time with someone on your team. The new owner must have a connected calendar and an assigned Sales Hub or Service Hub paid seat.
Please note: if you remove a user from your account, any scheduling pages where they're assigned as the organizer will be deleted. You should transfer ownership before removing the user from your account.
- In your HubSpot account, navigate to Sales > Meetings.
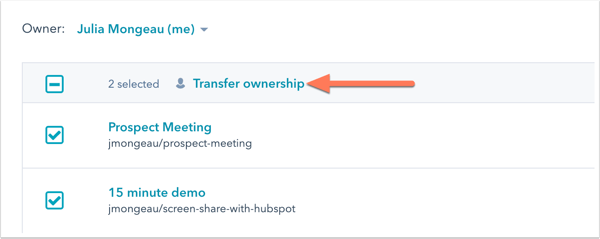
- Select the checkboxes next to the meetings to transfer.
- At the top of the table, click Transfer ownership.

- In the dialogue box, click the Owner dropdown menu and select a new owner.
- Click Transfer.
The original scheduling page owner will no longer have access to the scheduling page once it is transferred.
